


Get started with React Native - the popular open-source framework for building mobile apps using JavaScript and React.js. Learn how to create high-performing, native-like apps for iOS and Android without the need to learn different programming languages.
This beginner's guide covers everything from setting up your development environment to building your first app, plus tips for debugging and troubleshooting. Discover advanced topics such as navigation and networking. By the end of this guide, you'll have a solid foundation in React Native and be ready to build your own mobile apps.
Setting up the Development Environment
Before you can start building your first React Native app, you need to set up your development environment. This includes installing Node.js, which is the JavaScript runtime that React Native uses to build and run your app. You will also need to install other dependencies such as the React Native CLI (Command Line Interface) and a code editor of your choice (I prefer WebStorm).
How to Install Node.js
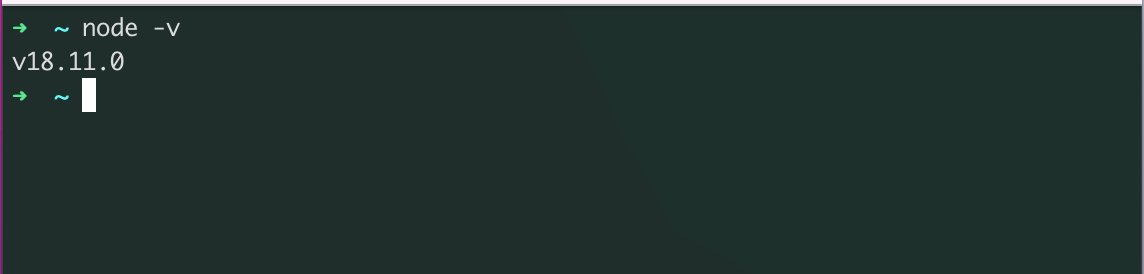
Node.js is a necessary dependency for React Native. You can download the installer for your operating system from the official Node.js website. Once it is installed, you can verify the installation by running the node -v command in your terminal, which should display the version of Node.js you have installed.
Setting up an Emulator or Physical Device:
To test your React Native app, you will need either an emulator or a physical device. If you are using an emulator, you will need to install the Android Studio or Xcode, depending on the platform you are targeting. You can follow React Native's official guide to setup an emulator.
Installing the React Native CLI:
The React Native CLI is a command-line tool that helps you to create and run React Native projects. You can install it by running the command npm install -g react-native-cli in your terminal.
After you have completed these steps, your development environment will be set up and ready for you to start building your first React Native app. Remember to keep your dependencies updated to ensure a smooth development process.
Understanding the Basics of React
React Native is built on top of React, so it's important to have a good understanding of the basics of React before diving into React Native.
- JSX: JSX is a syntax extension for JavaScript that allows you to write HTML-like elements in your JavaScript code. React components are written using JSX, which makes it easy to understand the structure of your app. It's important to note that JSX is not HTML, but it looks very similar.
- Components: In React, a component is a piece of code that represents a specific part of your app, such as a button or a form. Components are reusable, so you can use the same component in multiple places throughout your app.
- Props: Props (short for properties) are used to pass data from a parent component to a child component. They are read-only, which means that the child component cannot change the props passed to it.
- State: State is used to store data that can change within a component. Unlike props, state can be changed by the component itself. It's important to keep the state minimal as possible and to use props as much as possible.
By understanding the basics of React, you will be better equipped to understand how React Native works and how to build apps using the framework. Remember to practice and try out different examples to master the concept.
Building Your First React Native App
Now that you have set up your development environment and have a basic understanding of React, it's time to start building your first React Native app.
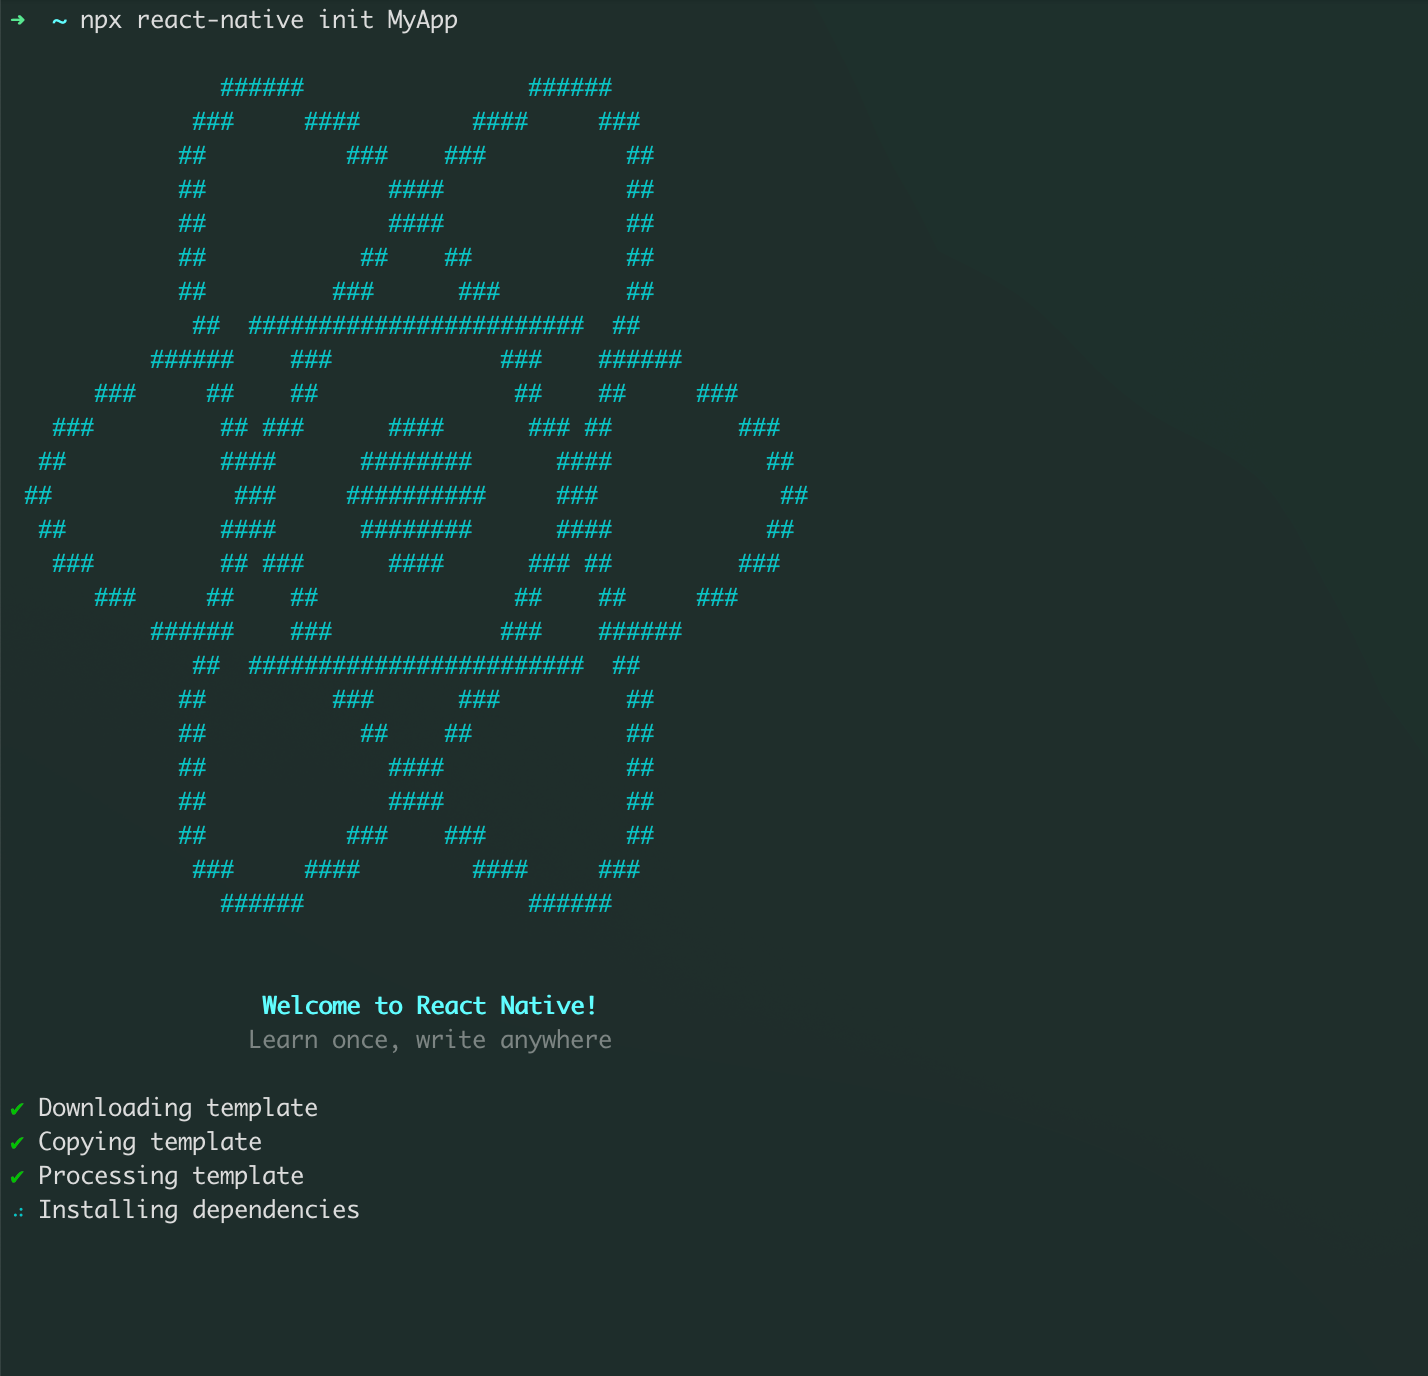
- Create a new project: You can create a new React Native project by running the command
react-native init MyAppin your terminal, whereMyAppis the name of your project. This will create a new folder with the same name and set up the basic structure of your app.
- Run the app: Once your project is set up, you can run it on an emulator or a physical device. On an iOS simulator, you can run the command
react-native run-iosand on an Android emulator, you can run the commandreact-native run-android. - Modify the App.js file: The
App.jsfile is the entry point of your app, and it's where you will write most of your code. You can start by modifying the file to display a "Hello World" message on the screen. - Common Components: React Native provides a set of pre-built components, such as Text, View, Image, and Button, that you can use to build your app. These components are similar to HTML elements and can be used to create the user interface of your app.
- Debugging and Troubleshooting: As you build your app, you may encounter errors or bugs. React Native provides a built-in developer menu that you can access by shaking your device or by selecting "Shake Gesture" in the simulator. This menu allows you to access various debugging options and can help you troubleshoot any issues you may encounter.
By following these steps, you will have built your first React Native app, and you can continue to build upon it and add more features. Remember to always keep testing and debugging your app as you build it, to ensure it works properly.
Advanced Topics
As you become more comfortable with React Native and have built a few basic apps, you may want to start exploring some of the more advanced features of the framework. Here are a few advanced topics to consider:
- Navigation: React Native provides a built-in navigation library called React Navigation that allows you to easily implement navigation in your app. With React Navigation, you can create a stack navigator, a tab navigator, or a drawer navigator, depending on the type of navigation you want to implement in your app.
- Handling user input: React Native provides a set of components such as TextInput and Picker that allow users to enter data and make selections. You can also use the built-in state management to handle and validate user input.
- Networking and APIs: React Native allows you to make network requests using the built-in Fetch API or third-party libraries such as Axios. This allows you to retrieve data from a server, such as JSON, and use it in your app. This is useful for apps that require real-time data, such as weather apps or news apps.
- Animations: React Native provides a built-in animation library called Animated that allows you to create smooth animations in your app. You can use the library to create simple animations, such as fading in and out, or more complex animations, such as bouncing or rotating.
- Push Notifications: React Native allows you to implement push notifications in your app using third-party libraries such as react-native-firebase. This allows you to send notifications to your users even when the app is closed.
By exploring these advanced topics, you will be able to take your React Native skills to the next level and build more complex and feature-rich apps. Always remember to keep learning, experimenting and building to improve your skills.
In this guide, we've covered everything you need to know to get started with React Native. We've discussed how to set up your development environment, the basics of React, and how to build your first React Native app. We've also covered advanced topics such as navigation, handling user input, networking, animations, and push notifications.
By following this guide, you should now have a solid foundation in React Native and be ready to start building your own mobile apps. Remember to keep practicing and experimenting to continue building your skills.
There are many resources available to help you continue your learning journey. Some popular resources include the React Native documentation, React Native community forums, and tutorials on websites such as YouTube and Udemy.
I hope that this guide has been helpful and that you feel confident in your ability to start building mobile apps using React Native.
Keep building, experimenting, and most importantly, have fun!


Member discussion